How to Make Cranberry Pie—the Dessert You Need This Fall
 Updated: Aug. 25, 2022
The tart-sweet filling and a perfect, flaky crust make this cranberry pie a bake not to be missed.
Our editors and experts handpick every product we feature. We may earn a commission from your purchases.
As soon as the temps drop, most bakers start dreaming of seasonal treats. For many, that means pumpkin spice desserts, and for others, it’s a classic apple pie. But our Test Kitchen likes to take things a step further. We say that you can’t beat a tart and citrusy cranberry pie.
Cranberry pie is a must for fall because it takes advantage of the season’s best produce. It’s the perfect time to pick up fresh cranberries. Plus, watching the irresistibly flaky buttery pie pastry rise in the oven is the best on those cozy days you want to stay indoors. What really takes this pie to the next level is the finishing touch: whipped cream with a touch of orange zest. This pie is so delicious, it will have you saying pumpkin pie who?
![]() Love to bake? Subscribe to the Bakeable newsletter and join our baking community on Facebook where you’ll find recipes, tips and challenges.
Love to bake? Subscribe to the Bakeable newsletter and join our baking community on Facebook where you’ll find recipes, tips and challenges.
How to Make Our Test Kitchen’s Favorite Cranberry Pie

Ingredients
For the filling you’ll need:
- 3-1/2 cups fresh or frozen cranberries
- 1 cup sugar
- 2 teaspoons grated lemon zest
- 1 teaspoon grated orange zest
- 1 small navel orange, peeled, sectioned and chopped
- 2 tablespoons butter, melted
- 4 tablespoons all-purpose flour
- 1/4 teaspoon salt
For the pie pastry, you can follow our Classic Butter Pie Crust recipe:
- 2-1/2 cups all-purpose flour
- 1/2 teaspoon salt
- 1 cup cold butter, cubed
- 1/3-2/3 cup ice water
- 1 egg, lightly beaten
- Additional sugar
And for the finishing touch, the orange cream, you’ll need:
- 1 cup heavy whipping cream
- 1 tablespoon sugar
- 2 teaspoons grated orange zest
- 1/2 teaspoon orange extract (optional)
Recommended Tools

Directions
Step 1: Make the pie crust

Learning how to make a pie crust is an essential skill for home bakers. A great crust can set you up for all sorts of delicious desserts. In the case of this pie, it serves as the flaky foundation for all the wonderful fruit filling.
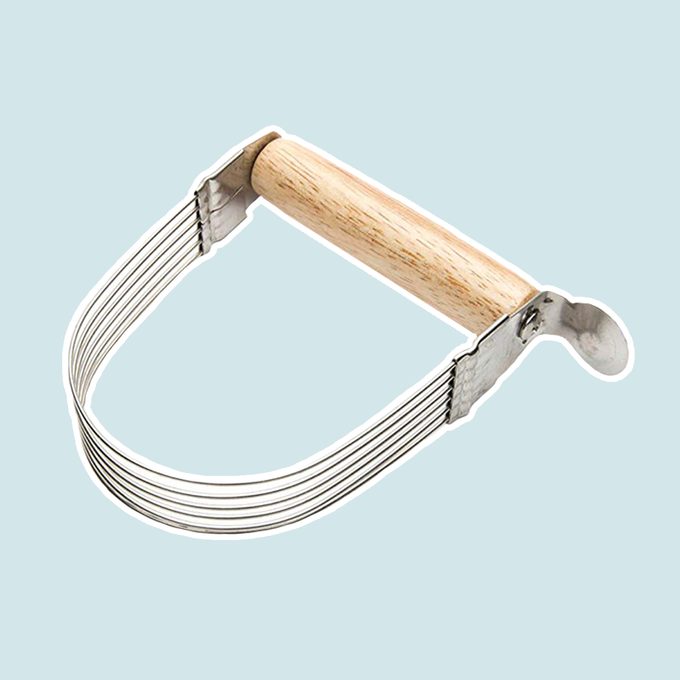
To make this double pie crust, whisk together the flour and salt. Then, using a pastry blender, cut in the cold, cubed butter. You’ll definitely want to use a pastry blender here instead of your fingers. Since keeping the butter cold is crucial to developing flaky pastry, you’ll want to keep your warm hands off of it.
Editor’s tip: A pastry blender is your secret weapon for picture-perfect pie crust. If you don’t have one yet, we recommend purchasing before you start baking all your holiday pies—this one’s just $7.
Continue to cut the butter into your dry ingredients until the butter is about pea-sized. Then stir in ice-cold water until the pastry starts to come together. Start with just 1/3 cup of water and add more as needed. The pastry is the right consistency when you press it together and it holds.
Once you’re done making the pie crust, divide it into two disks, wrap and chill in the fridge for at least one hour.
Editor’s tip: Butter is the best fat to use in pie pastry for flaky layers and amazing flavor. See why our Test Kitchen recommends it over shortening and lard.
Step 2: Make the cranberry-citrus filling

What’s so terrific about this cranberry pie is that stirring up the filling is exceptionally easy. Simply combine all the filling ingredients—that’s cranberries, orange zest, lemon zest, sugar, orange pieces, flour, butter and salt—together in a large mixing bowl.
Editor’s tip: In this recipe, you can use either fresh or frozen cranberries. If you’re using frozen, measure them before thawing.
Step 3: Rolling out the pie crust
Before you roll out your crust, give your work surface and rolling pin a light dusting of flour to keep the dough from sticking.
Then, using the rolling pin of your choosing, start rolling out the dough into a round. Give the dough a quarter turn every so often and roll until the crust is about 1/8-inch thick and big enough to set into a 9-inch pie pan with some excess pastry around the edge (you’ll want this for crimping). With this in place, you can add in your cranberry filling.
Editor’s tip: Need help transferring your pie pastry into your dish? You can drape the crust over the rolling pin and then transfer it to the pan. It makes moving the dough a bit easier.
Step 4: Create the lattice top

Making a lattice-top pie might look tricky, but it’s not so challenging if you work carefully.
To make the lattice, roll out your second disk of pie pastry. Like last time, you’ll want it to be a large round, about 1/8-inch thick. Then break out a ruler and either a pastry cutter ($10) or a pizza cutter. The pastry cutter will give you those pretty zig-zag edges, but a pizza slicer will work just fine. You can either cut all your strips to be the same width—somewhere around 1 inch works well—or you can cut half of the strips to be wide and the others to be thin and alternate them. It’s all personal preference.

To form the lattice, place half the strips going one direction across the pie. Then layer the rest going the other direction and weave them over and under as you go. If your pastry strips break—don’t worry. They can easily be patched together with a few drops of water (or hidden underneath the weave).
When you’re satisfied with the lattice, trim the excess pastry around the edges. Then pinch the crust to seal and finish.
Editor’s tip: We’ve got a great tutorial on how to make a pretty fluted or roped edge.
Step 5: Finish with egg wash and sugar

Next, give the crust a quick egg wash. Whisk up an egg and brush it over the top of the crust. For a finishing touch, sprinkle with sugar—granulated or sanding texture both work. That extra sprinkle will give the crust some extra crunch.
Step 6: Prepare for baking
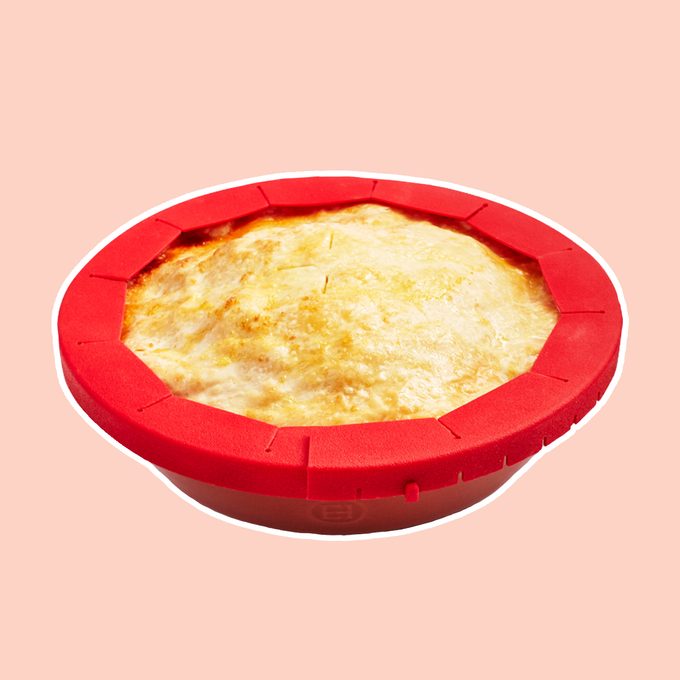
Before you pop this pie in the oven, you’ll want to take some precautionary measures to ensure the crust doesn’t brown too quickly. You can use a store-bought pie crust shield ($10) or you can make your own with foil. With the shield in place, pop the pie into a 450ºF oven.
After 10 minutes, reduce the oven temperature to 350ºF and remove the foil. Bake an additional 40 to 45 minutes—until the crust is perfectly golden. When you’re satisfied with the bake, remove the pie from the oven and let it cool on a wire rack.
Step 7: Make the orange cream
The orange cream that crowns this cranberry pie is a simple flavored whipped cream. You can stir it up right before serving.
Making whipped cream is easy—you can follow this quick guide if you’re new to the process. For this cream, all you have to do is beat the whipping cream until it starts to thicken. Then add the orange zest, sugar and orange extract and beat until soft peaks form. In just a few minutes, you’ll have the perfect topping to complement this pie.
How to Serve this Amazing Cranberry Pie

Prepare for jaws to drop and mouths to water when you bring this pie to the table. Nothing beats its ruby-red cranberry filling peeking through a sugar-topped golden crust.
To serve, use a sharp paring knife to slice through the crust cleanly, then grab your pie server to pry the pieces out carefully. Once plated, give each slice a dollop of orange whipped cream.
Editor’s tip: Getting that perfect slice can be tough! Check out our guide for how to serve pie like a pro.
After you’ve served up this pie, prepare for a wave of compliments. The crust bakes up wonderfully flaky thanks to the butter. And the filling, while tart, is absolutely divine when paired with all that citrus and a dollop of cream. This cranberry pie is definitely worth making in lieu of the traditional apple or pumpkin. Give it a try for Thanksgiving (if you can wait that long).